
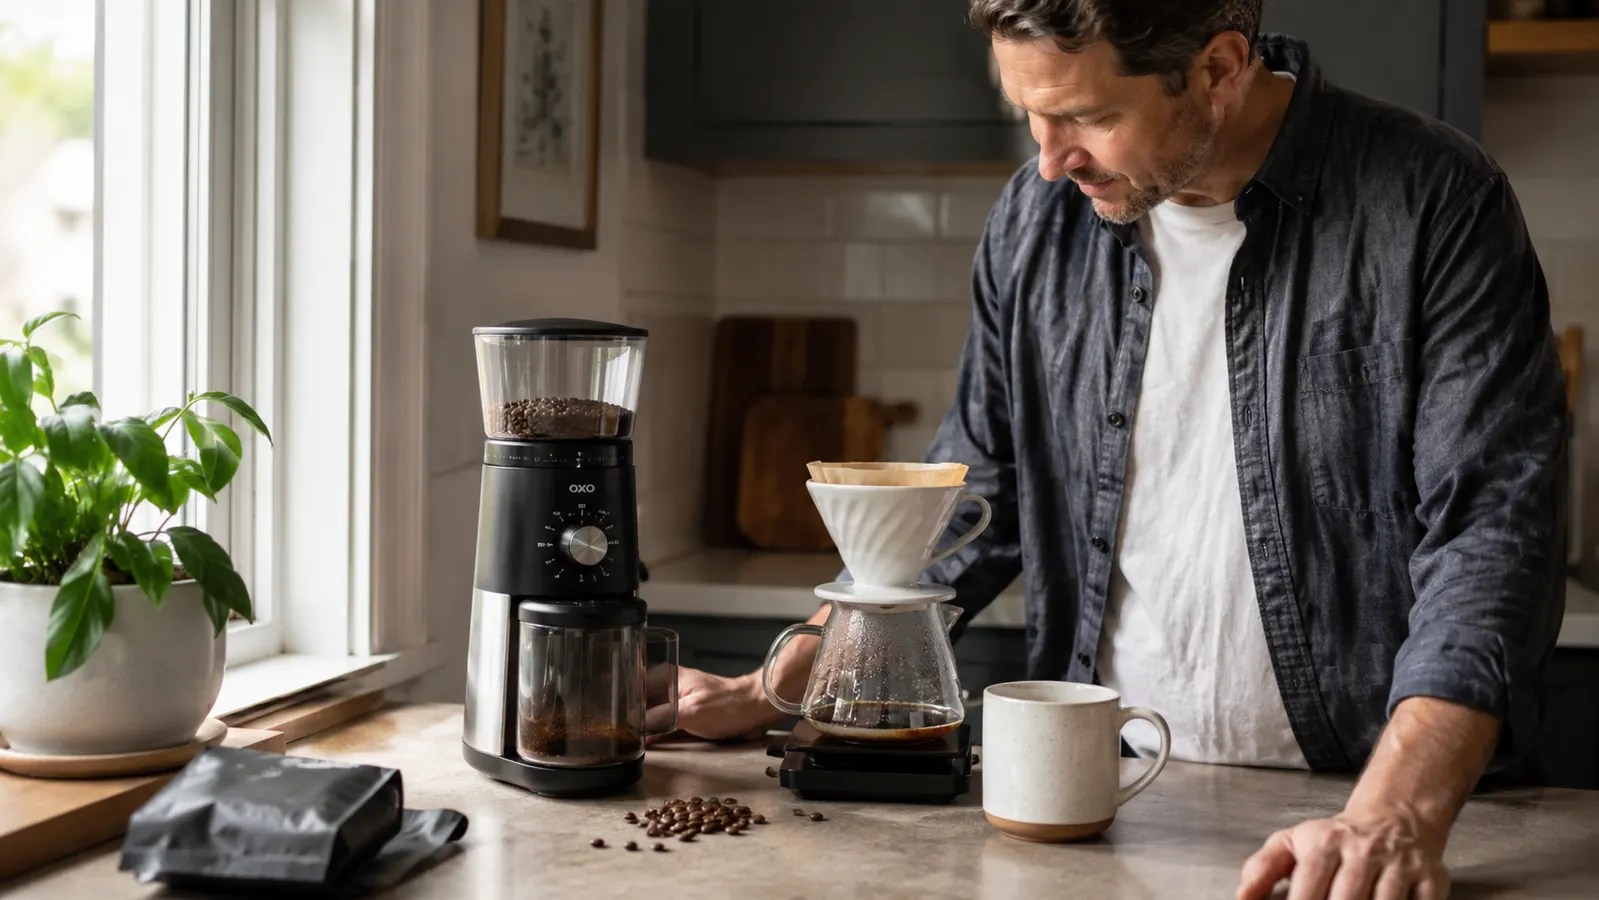
My coffee used to taste different every single morning, and for two years I blamed the beans. New roaster, better beans, still inconsistent. Then I switched to the OXO Brew Conical Burr Grinder and realized the actual problem was never the coffee. It was grind size, or more specifically, my total lack of control over it. Blade grinders chop unevenly, so every cup is a mix of dust and boulders brewing at completely different rates. A burr grinder crushes beans between two stainless steel burrs at a fixed gap, which means every particle comes out close to the same size. That consistency is the whole game.
This guide is the exact process I use to dial in grind size for whatever I'm brewing that day, whether it's a Chemex on Saturday morning or a French press when my in-laws are in town. It works with any quality conical burr grinder, but I'm walking through it with the OXO Brew because that's the one that's been living on my counter since last spring, and its numbered dial makes the whole process easier to repeat. With over 20,000 reviews behind it and a 4.3-star average, I'm clearly not the only one who's found the dial reliable enough to trust.
If you're new to burr grinding, the learning curve is smaller than it looks. You're not tuning an espresso machine's pressure profile or timing a pour to the second. You're turning a dial, tasting a cup, and turning it again in one direction or the other until the coffee tastes right. Five steps, maybe three cups of coffee, and you'll have a setting you can return to for months.
Stop Guessing at Grind Size. Start Controlling It.
The OXO Brew Conical Burr Grinder uses stainless steel conical burrs and a simple numbered dial so you can dial in the same grind every single time, from espresso-fine to French-press-coarse.
Amazon Check Today's Price on Amazon →Step 1: Know Your Target Grind Before You Touch the Dial
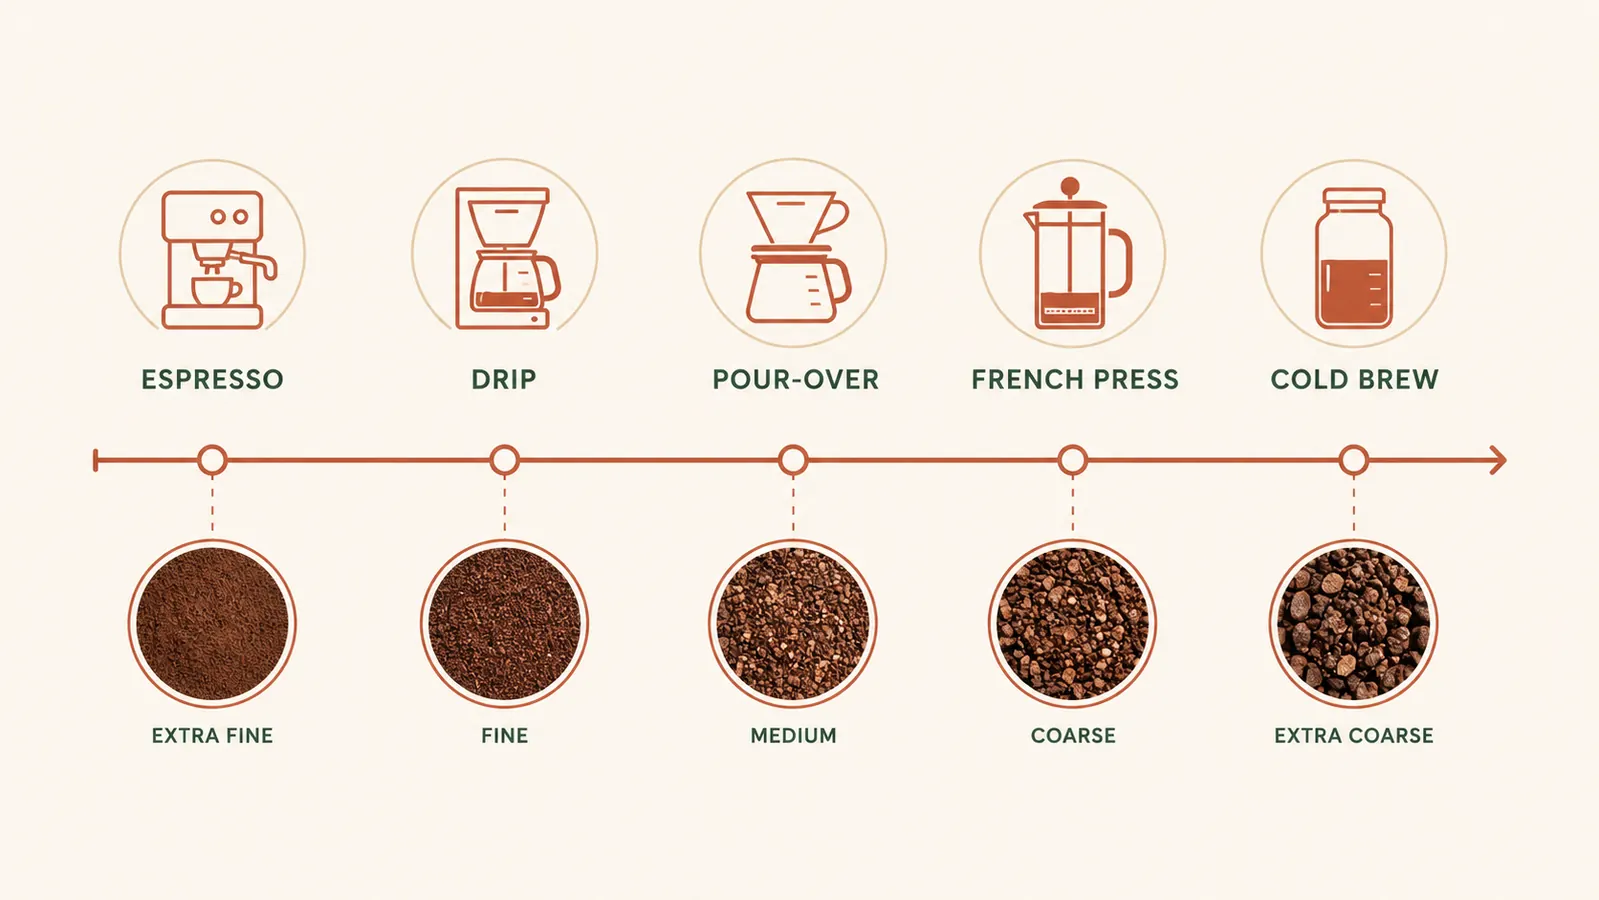
Before you grind a single bean, figure out where your brew method sits on the grind spectrum. Espresso needs a fine grind, close to table salt, because water is only in contact with the grounds for 25 to 30 seconds under pressure. Drip machines and pour-over methods like a Chemex or V60 want a medium grind, closer to granulated sugar, since contact time runs two to four minutes. French press and cold brew need a coarse grind, more like breadcrumbs or coarse sea salt, because they steep for four minutes to twelve hours and a fine grind would turn to sludge and over-extract into bitterness.
I keep a sticky note on the inside of my cabinet door with these four categories written out, because I brew three different ways depending on the morning. Knowing the target before you start saves you from the most common mistake, which is adjusting the grinder by feel instead of by method.
It also matters because contact time and grind size are a package deal. A grind that's perfect for a four-minute French press will drastically over-extract in a 30-second espresso shot, and a grind that's perfect for espresso will barely flavor a cold brew steeping overnight in the fridge. Match the grind to the method first. Everything else in this guide is fine-tuning within that range.
Step 2: Start With the Manufacturer's Baseline Setting
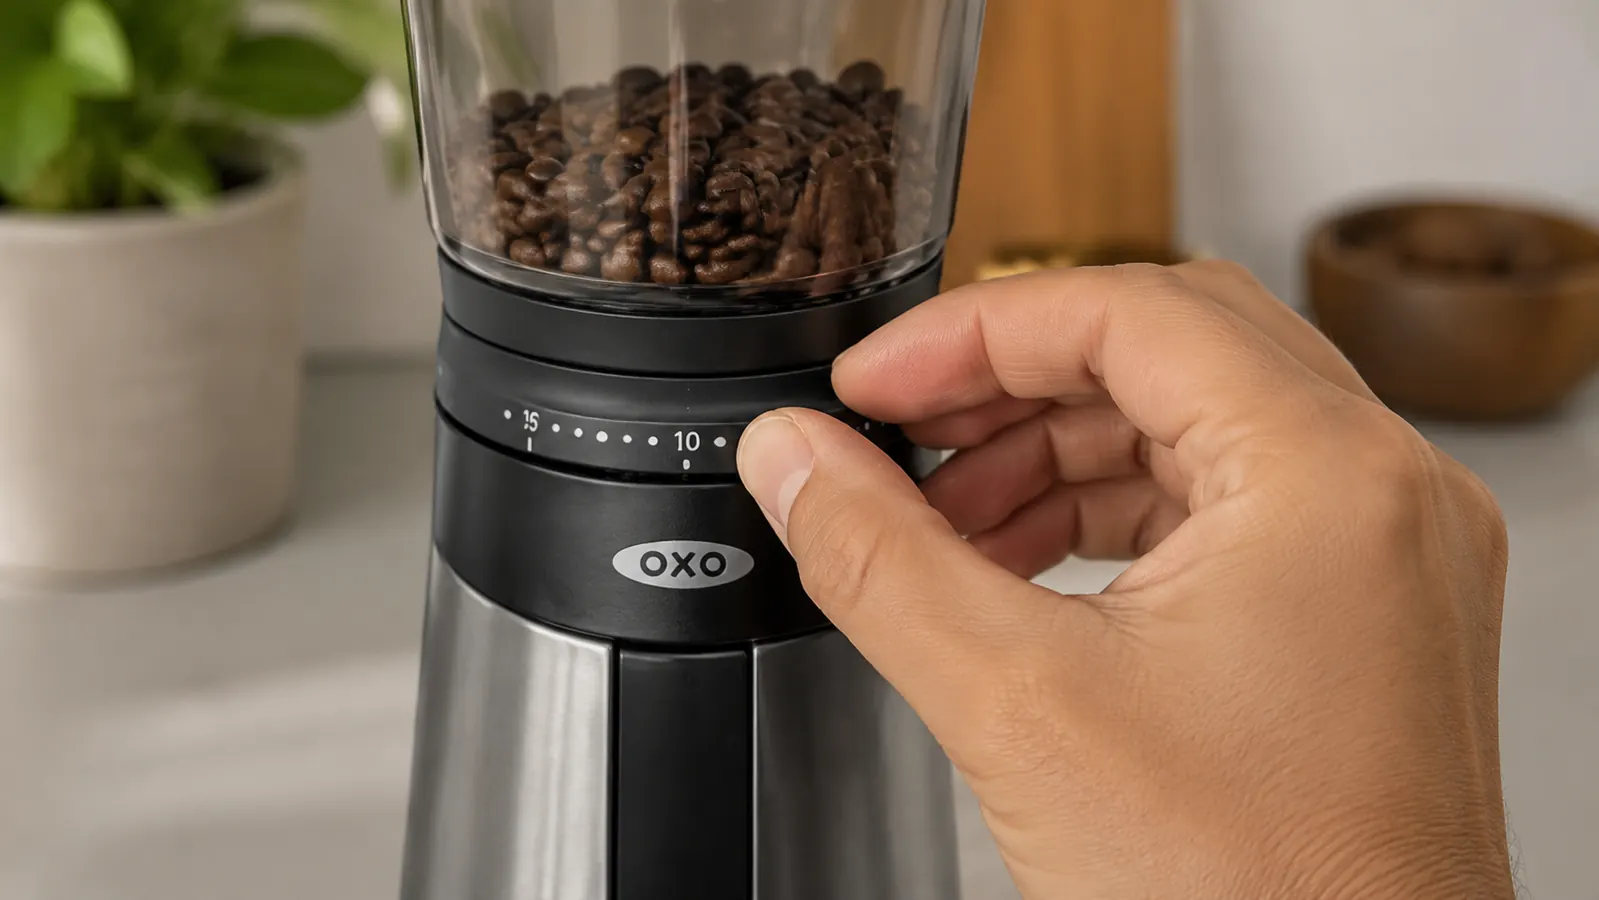
The OXO Brew ships with 30 numbered settings, and OXO's own guide points to roughly setting 7 to 10 for espresso, 15 to 20 for drip and pour-over, and 24 to 28 for French press and cold brew. Don't try to skip this and eyeball it. Start at the manufacturer's suggested number for your brew method, grind a small batch, and use that as your baseline. Every burr grinder wears in slightly differently, and beans themselves vary in density and moisture, so the printed number is a starting line, not a finish line.
The first time I did this, I set the OXO to 18 for my Chemex, which is right in the middle of the recommended pour-over range. That single batch became my reference point for every adjustment I made after. Write the starting number down before you touch anything else, even if it seems obvious in the moment. You will not remember it tomorrow.
If you switch beans, especially between a light roast and a dark roast, expect to nudge the dial a number or two even at the same brew method. Darker roasts are more brittle and tend to grind slightly finer at the same setting, while light roasts are denser and can run a touch coarser. It's a small effect, but it's why I always treat the baseline as a starting point rather than a permanent answer.
Step 3: Brew a Test Batch and Taste for Sour vs. Bitter
Brew a full cup or a full press using your baseline setting, your usual water temperature, and your usual ratio. Then actually taste it and pay attention to two flavors specifically: sourness and bitterness. A grind that's too coarse under-extracts, meaning the water passes through too fast to pull out full flavor, and the cup tastes sour, thin, or salty. A grind that's too fine over-extracts, meaning the water lingers too long and pulls out harsh compounds, and the cup tastes bitter, dry, or ashy at the back of your throat.
This is the step people skip because it feels slow. I get it, you want coffee, not a science project. But this one cup tells you exactly which direction to turn the dial. Sour means grind finer, lower number on the OXO's dial. Bitter means grind coarser, higher number. If the cup tastes balanced, sweet, and clear with no harsh edge, you're already close, and Step 4 will just be fine-tuning from here.
Taste the coffee black if you can, even if you normally add milk or sugar. Anything you add masks the exact flavor signal you're trying to read. I know that sounds precious for a Tuesday morning, but it's five minutes once, not a permanent habit change.
Step 4: Make Small Adjustments and Retest
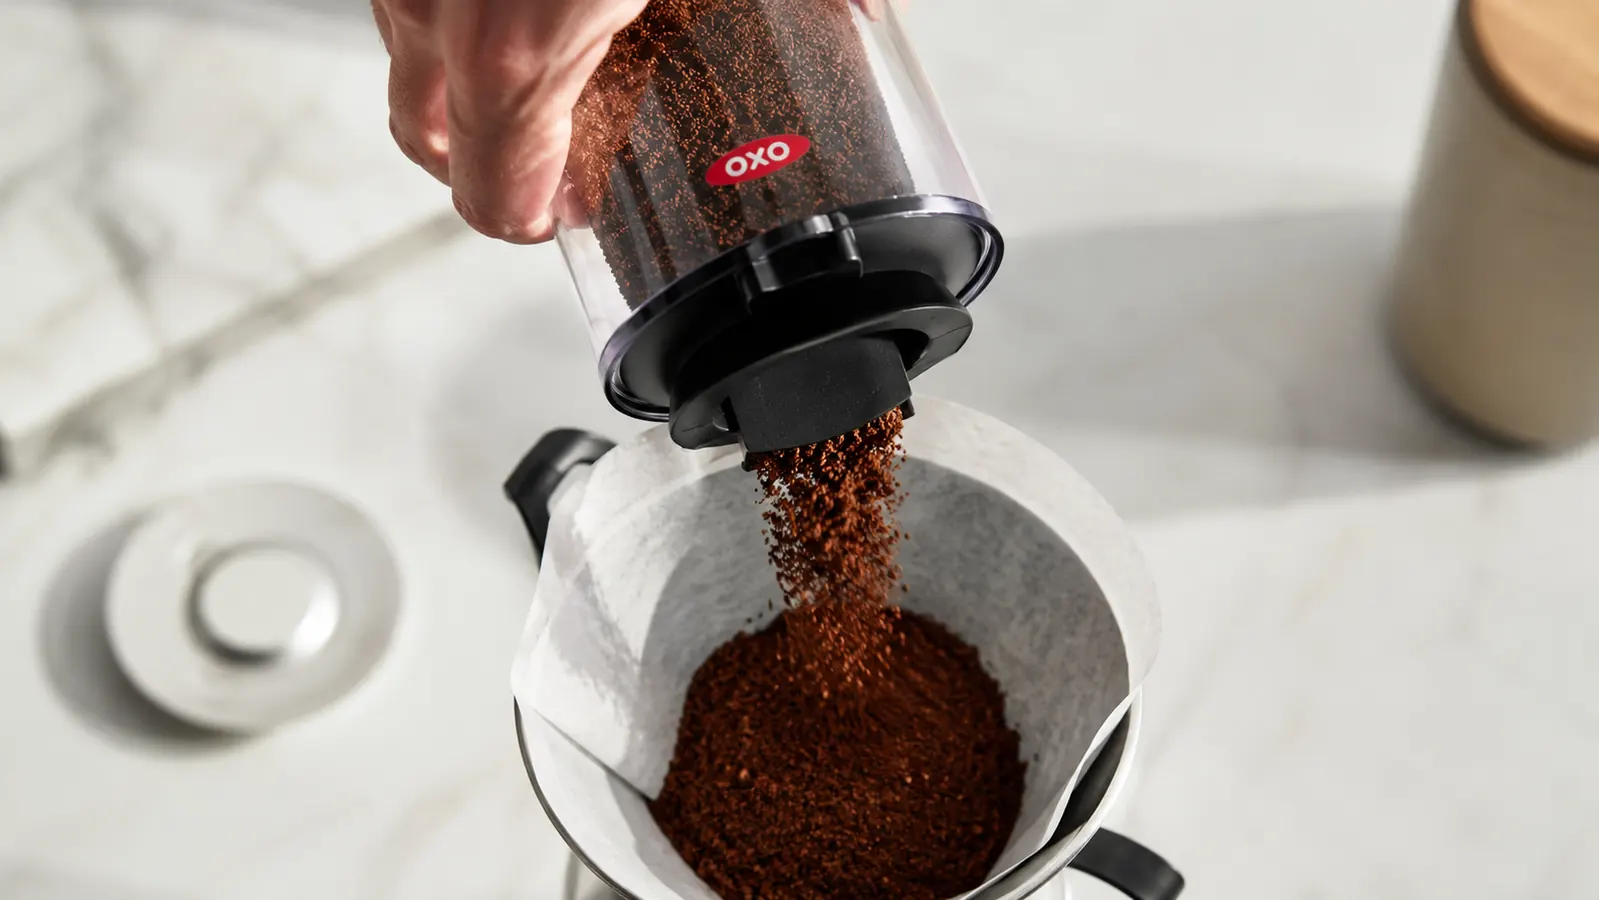
Adjust the OXO's dial by two to three numbers in the direction the taste told you, not ten. Big jumps overcorrect and you end up bouncing between too sour and too bitter without ever landing in the middle. Grind a fresh batch at the new setting, brew it the same way you brewed the last one, keep the ratio and water temperature identical, and taste again.
For my Chemex, I moved from 18 to 20 after my first cup came out slightly sour, and that two-number jump got me to a cup that tasted noticeably sweeter with a clean finish. It took me three test batches total to land there, spread across one Saturday morning. That's normal. Most people find their setting within two to four adjustments once they know what they're tasting for.
One thing that trips people up here: change one variable at a time. If you adjust the grind and also change your water ratio in the same test, you won't know which change actually fixed the cup. Keep everything else locked while you isolate the grind setting.
If two or three adjustments in a row still taste off in the same direction, stop and check something else before blaming the grinder. Stale beans, water that's too hot or too cold, or a ratio that's genuinely too weak or too strong can all mimic a grind problem and send you chasing the wrong fix.

Step 5: Lock In the Setting and Log It by Method
Once you land on a number that tastes balanced, write it down next to the brew method it belongs to. I keep a small card taped inside my cabinet: Chemex is 20, French press is 26, and my occasional espresso attempts with a moka pot sit around 9. The OXO's numbered dial makes this dead simple because you're recording a specific, repeatable number rather than a vague memory of "kind of in the middle, maybe a little past halfway."
This log is the single biggest reason I stopped getting inconsistent cups. Beans change over time as they age and lose moisture, so you may need to nudge a setting by a number or two every few weeks, especially with a fresh bag. But having a documented starting point means you're fine-tuning from a known good spot instead of starting from zero every time you brew a new roast.
I also jot the roast date on the same card when I open a new bag. It sounds like overkill, but pairing grind settings with roast freshness has taught me more about why a cup tastes different week to week than anything else in this whole process.
The dial doesn't make good coffee for you. It just makes your good setting repeatable, which is the part a blade grinder can never give you.
What Else Helps
A few habits make the whole process easier once you've got your baseline settings logged. First, grind right before you brew rather than the night before. Ground coffee starts losing aroma within minutes, and a burr grinder like the OXO Brew makes fresh grinding fast enough that there's no real reason to batch it ahead of time. Second, weigh your beans instead of scooping, even a cheap kitchen scale removes a variable that throws off your taste test without you realizing it. Third, clean the burr chamber every couple of weeks with the small brush that comes with the OXO. Oily bean residue builds up in the burrs over time and it will quietly shift your grind consistency even at the same numbered setting.
Fourth, pay attention to your water. If your tap water tastes off on its own, it will taste off in your coffee too, no matter how well you've dialed in the grind. I switched to filtered water about a year ago and it changed my cups almost as much as buying the grinder did. And fifth, if you brew more than one method regularly, don't be afraid to trust your log over your memory. I still second-guess myself and start turning the dial from scratch some mornings, and every time I do, I end up back at the number I already had written down.
Get a Grind You Can Actually Repeat
If you've been fighting inconsistent cups with a blade grinder or an old hand-me-down, the OXO Brew Conical Burr Grinder's stainless steel burrs and numbered dial take the guesswork out of the process described above.
Amazon Check Today's Price on Amazon →