
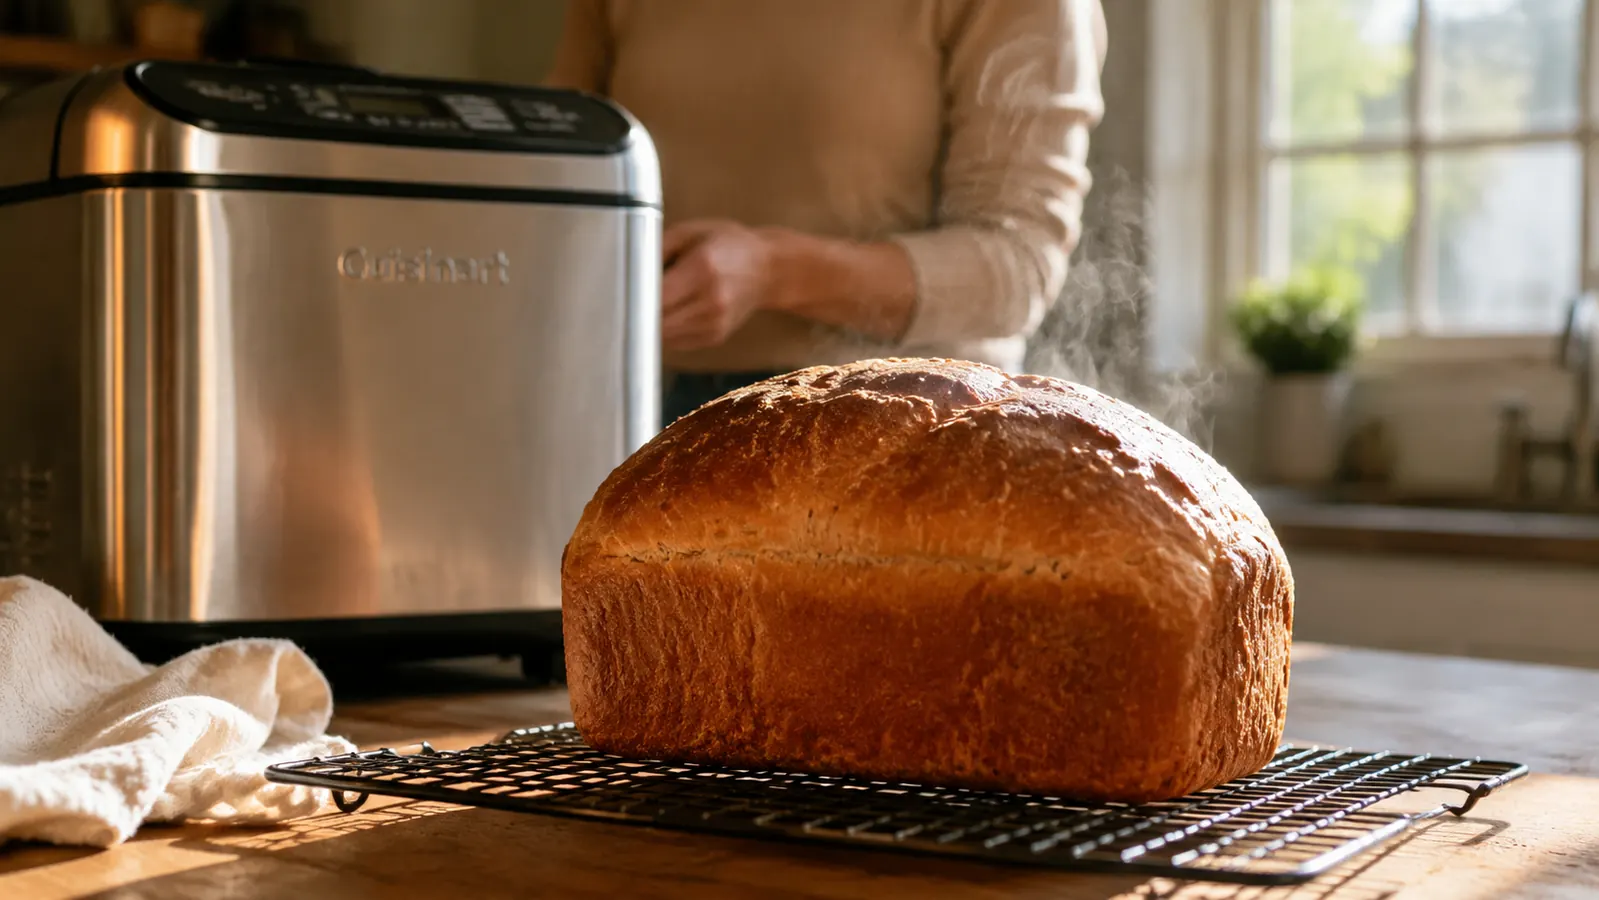
The first half dozen loaves out of my Cuisinart bread maker looked like something from a hospital cafeteria tray. Pale on top, soft all the way around the sides, barely a shade darker than the raw dough had been going in. No crackle when I squeezed the ends, no color contrast anywhere, and slicing into one felt more like cutting a pillow than cutting bread. If you've pulled a loaf out of your own machine and thought, that's not bread, that's a beige brick, the crust is almost always the fix, not the machine itself.
The instinct most people have is to blame the appliance, or assume they need to spend more on a fancier model, or track down some special European flour from a specialty shop across town. I went down all three of those roads before I figured out the real problem: I was treating crust as an afterthought instead of a setting I actually had to manage, the same way I'd never expect a good sear on a steak without preheating the pan first. Once I started thinking about crust as something I controlled rather than something the machine handed me, my Cuisinart started turning out loaves with a crust that actually shatters a little under the knife. Here's the five-step process that got me there, in the order I'd tackle them if I were starting over.
Tired of loaves that look like they never left the oven?
The Cuisinart Bread Maker gives you the crust controls this whole guide is built around: three crust settings, 12 menu options, and a viewing window that lets you fix dough consistency mid-cycle. Check today's price and see if it's in stock.
Amazon Check Today's Price on Amazon →Step 1: Start With the Crust Setting, Not the Recipe
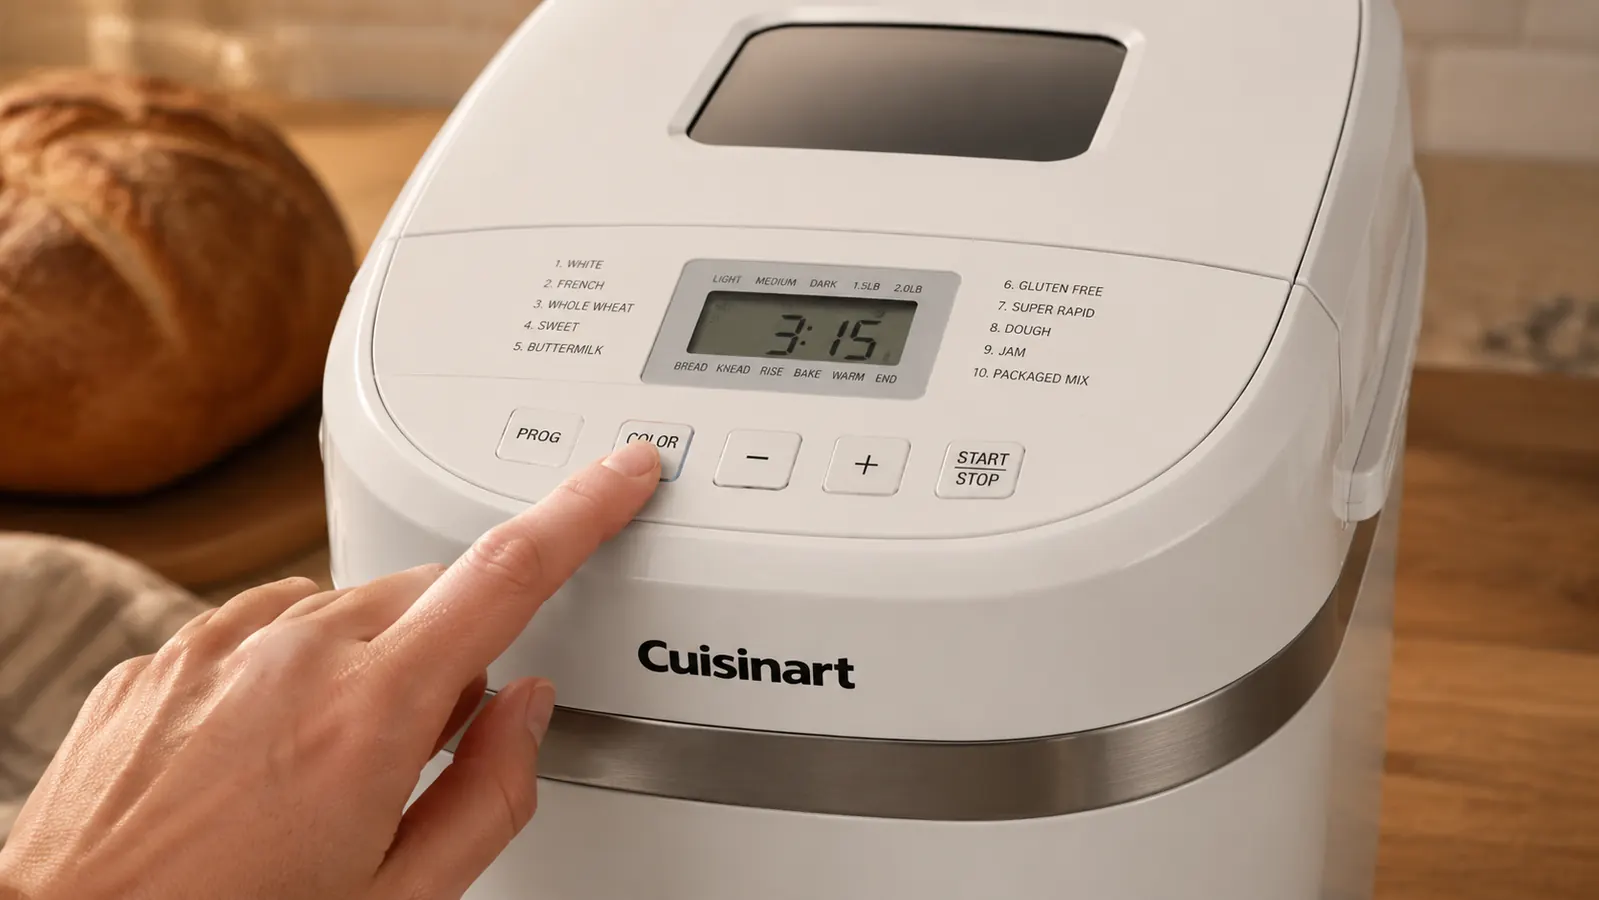
Most bread machines, including the Cuisinart, default to a Medium crust setting unless you tell them otherwise. Medium is a safe, forgettable setting designed to please the broadest range of tastes, and it produces exactly what it sounds like: a crust that's fine but forgettable, the bread equivalent of a beige rental apartment. If you want a crust with real color and a bit of crackle, press the crust button until the display shows Dark before you start the cycle. It sounds obvious once you say it out loud, but I ran a dozen loaves on Medium before it occurred to me to actually change the setting, mostly because I'd never bothered to read past the first page of the manual.
On my Cuisinart, the crust button cycles through Light, Medium, and Dark, and the current selection lights up on the small display next to the loaf size indicator. It takes about two seconds to change and it's the single highest-leverage fix in this entire guide. If you do nothing else on this list, do this one. It costs nothing, requires no new ingredients, and it's the difference most people are actually chasing when they say their bread maker loaves look store-bought in the wrong way.
One caveat worth knowing: the Dark setting extends the bake phase by roughly 8 to 10 minutes compared to Medium. That extra time is what gives the crust more color, but it also means the loaf finishes a little later than you might expect if you're timing dinner around it. I've learned to just start the cycle 10 minutes earlier than I think I need to, and I've set a recurring phone reminder so I stop forgetting on the mornings I'm distracted getting kids out the door.
Step 2: Swap All-Purpose Flour for Bread Flour
This was the fix that actually mattered most for me, and it took embarrassingly long to figure out. All-purpose flour runs around 10 to 11 percent protein. Bread flour runs closer to 12 to 14 percent. That extra protein builds more gluten structure during the knead cycle, which does two things at once: it gives the crumb more chew and rise, and it gives the crust more surface starch to caramelize during baking. A loaf made with all-purpose flour on the Dark setting will still come out paler than the same recipe made with bread flour on Medium, which tells you how much this one ingredient swap outweighs the crust button by itself.
I switched to a straightforward bread flour, the kind sold in every grocery store's baking aisle right next to the all-purpose bags, and stopped buying all-purpose for bread entirely. The difference showed up on the very first loaf. The top went from a dull tan to a genuine golden brown, and the sides, which had always stayed pale no matter what crust setting I used, finally picked up color too. It's a two-dollar difference at the store for a five-pound bag, which makes it the cheapest fix on this whole list.
If you bake whole wheat regularly, know that whole wheat flour behaves differently again, since the bran interferes with gluten development and absorbs more liquid than white flour. I still use the Cuisinart's Whole Wheat cycle for those loaves, which runs a longer rise specifically to compensate, and I always bump the crust setting to Dark on those bakes since whole wheat tends to come out even paler than white bread otherwise, even with the extra protein working in its favor.
Step 3: Adjust Sugar and Butter for Deeper Browning
Crust color isn't just about heat, it's about chemistry. The browning you're after comes from the Maillard reaction, which needs sugars and proteins at the surface of the dough to react under heat. A basic lean bread recipe, just flour, water, salt, and yeast, has very little sugar available at the crust, which caps how dark it can ever get no matter how long you bake it or how high you crank the crust setting.
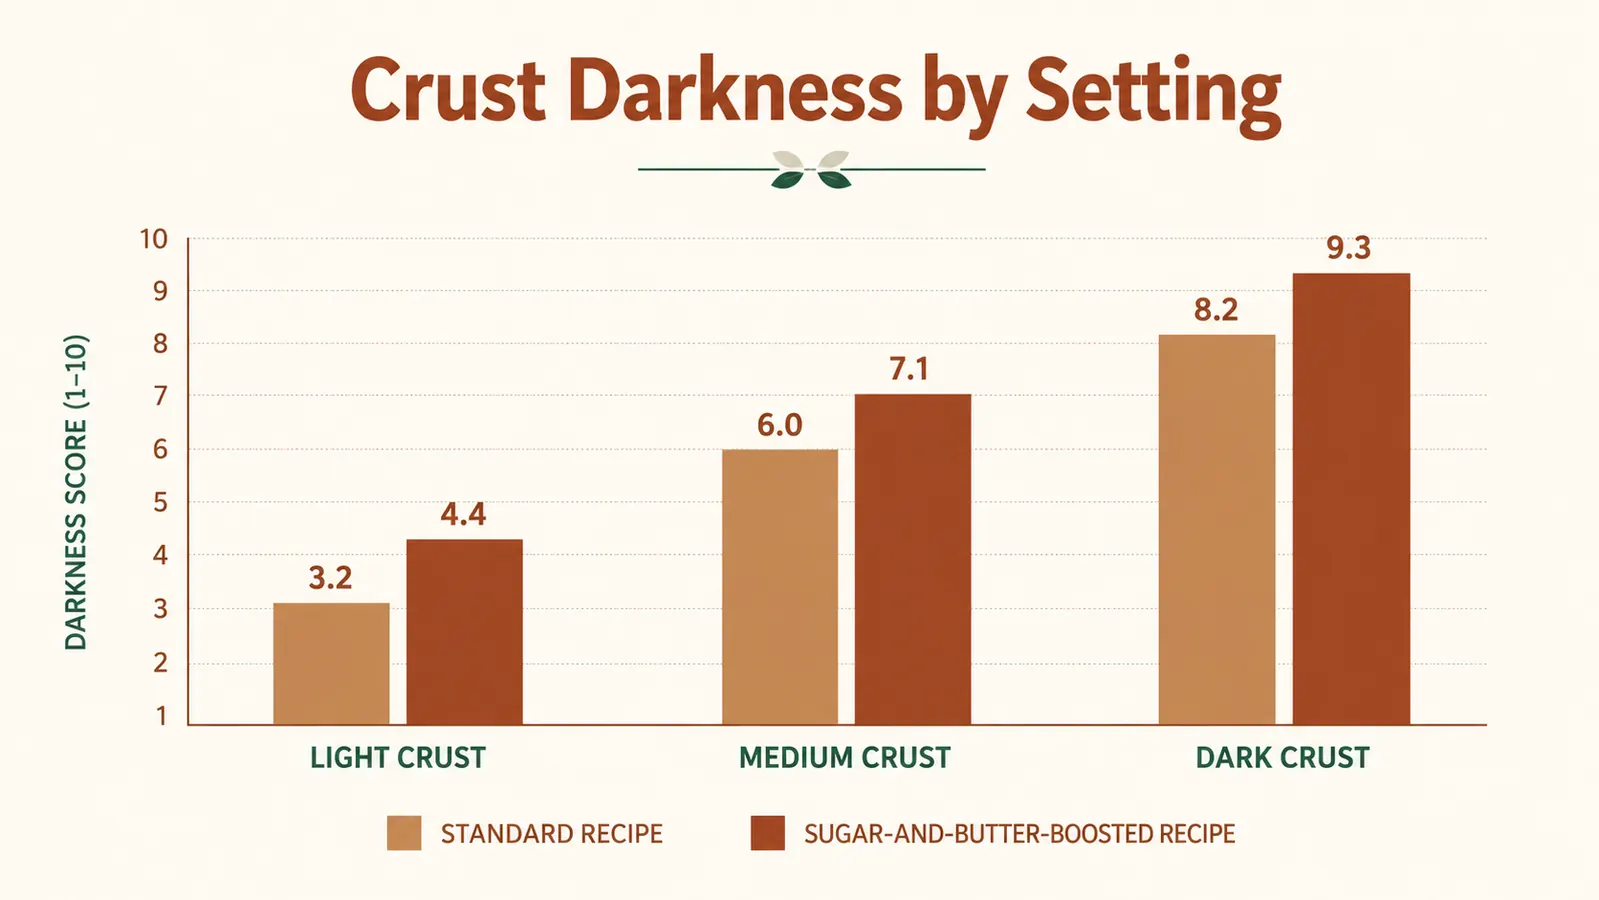
Adding a tablespoon of sugar and a tablespoon of softened butter to a standard 1.5 pound loaf recipe gives the crust noticeably more to work with. I tested this side by side on my Cuisinart, same flour, same water, same Dark setting, one batch with the extra sugar and butter and one without. The boosted version came out visibly darker and glossier, almost like an egg wash had been brushed on, even though nothing else changed except those two ingredients going into the pan before the cycle started.
Don't overdo it. More than about two tablespoons of added sugar in a standard loaf starts to change the texture and can even confuse the yeast timing on some cycles, since sugar affects fermentation speed too, sometimes making the dough rise faster than the machine's programmed timing expects. A tablespoon or two of each is the sweet spot I've settled into after a lot of trial and error and more than a few loaves that rose too fast and collapsed before the bake phase even started.
Step 4: Vent the Steam in the Last Ten Minutes
This is the step most people never think to try because it feels wrong to open the lid mid-cycle. But a bread machine bakes inside a mostly sealed chamber, which traps steam released from the dough as it bakes. That trapped humidity is great for keeping the crumb soft, but it works directly against a crisp crust, since moisture in the air keeps the surface of the loaf from fully drying out and browning, no matter how dark a setting you've chosen or how much sugar you've added.
During the last 10 minutes of the bake cycle on my Cuisinart, I prop the lid open about half an inch using a folded oven mitt wedged at the hinge. It's not elegant, but it works. That small gap lets steam escape without dumping all the heat out of the chamber, and the crust that forms in those final minutes comes out noticeably crisper and drier to the touch. I only do this on the Dark setting, since venting on Light or Medium can leave the crust too dry and thick for what those settings are actually meant to produce.
Keep an eye on the clock if you try this, since every model handles the last stretch of the bake cycle slightly differently. On the Cuisinart, the countdown display on the front makes it easy to know exactly when you're in that final window without guessing, so I just glance at the timer while I'm cleaning up the counter and prop the lid the moment it hits ten minutes remaining.
Step 5: Let It Cool on a Wire Rack Before You Cut It
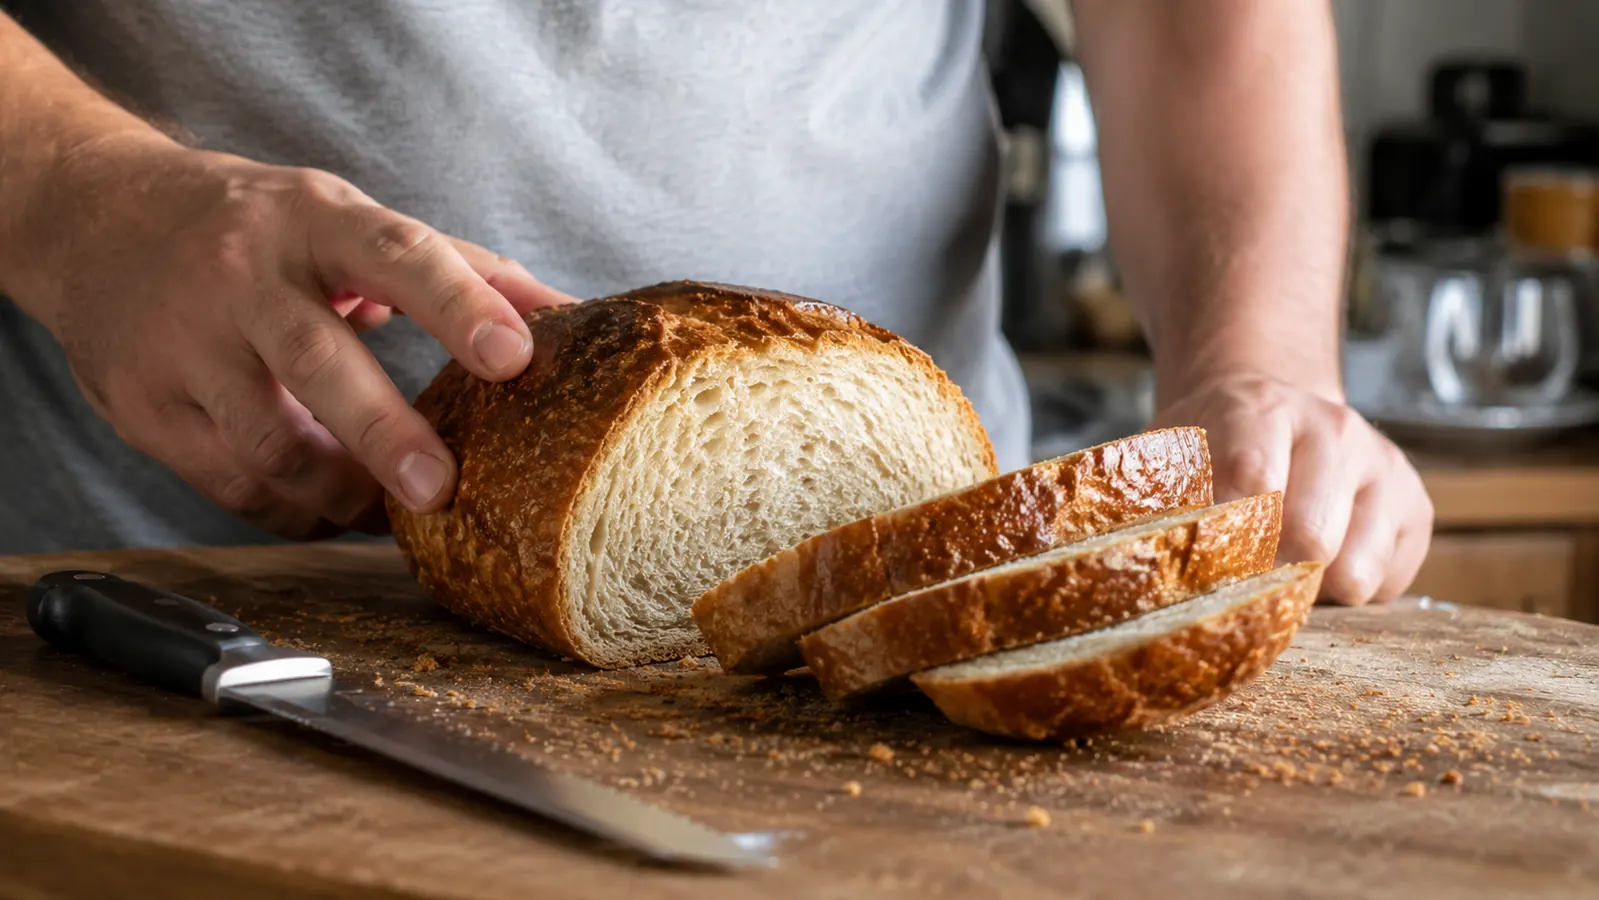
The crust isn't finished the moment the machine beeps. A huge amount of what makes a crust actually crisp happens during the cooling window right after baking, as residual moisture from the crumb migrates outward toward the surface and the starch there finishes setting up into that glassy, crackly texture you're after. Cut into a loaf while it's still hot and you'll steam-soften the crust you just worked so hard to build, along with getting a gummy, compressed slice for your trouble, since a hot knife through warm crumb squashes more than it cuts.
I pop the pan out of the Cuisinart the moment the cycle finishes, turn the loaf out onto a wire rack, and leave it alone for a full 45 minutes to an hour. Standing it on a rack instead of a cutting board matters too, since airflow underneath the loaf keeps condensation from pooling and softening the bottom crust while the top is still setting up in the open air.
I know the waiting is the hardest part. The kitchen smells incredible and the loaf looks done from every angle. But every time I've caved and sliced early because I couldn't stand it anymore, I've regretted it, and every time I've made myself wait the full hour, the crust has held up the way I wanted it to, with that audible crackle when you press down on it with the back of a knife.
What Else Helps
A few smaller factors round out the crust equation. Ingredient temperature matters more than most recipes admit. Room-temperature water and butter give the yeast a more even start than cold-from-the-fridge ingredients, which affects how evenly the dough proofs and, in turn, how evenly the crust browns across the whole surface of the loaf rather than just in patches. Kitchen humidity plays a role too. On genuinely humid summer days, I've noticed my crusts need an extra minute or two on the vented cooling step to fully firm up, since the ambient moisture in the air is working against the drying process the whole time.
If you're chasing bakery-shop shine on top, a light brush of milk or a beaten egg white across the top of the dough right before the bake cycle starts, if your machine's design allows access at that point, adds a glossy, deeper-colored finish that plain dough can't match on its own. And don't ignore your pan's condition. A scratched or heavily worn nonstick coating on any bread machine pan can change how heat transfers to the crust along the sides and bottom, which is one more reason to hand wash the pan gently instead of letting it bang around in a dishwasher rack for years.
Crust isn't luck and it isn't the machine. It's five small decisions you get to make before the beep.
Putting It Together
None of these five steps requires a different bread machine or a specialty ingredient you can't find at a regular grocery store. What they require is treating the crust setting, the flour bag, and the cooling rack as tools instead of afterthoughts. On my Cuisinart, stacking all five, the Dark crust setting, real bread flour, a touch more sugar and butter, a vented last 10 minutes, and a full hour of cooling before the first cut, turned a machine I was lukewarm on into one I genuinely look forward to using every week. The loaf that comes out now looks like something I'd photograph, not something I'd apologize for at a potluck.
Ready to stop guessing at crust settings?
The Cuisinart Bread Maker's three crust levels, viewing window, and 12 menu options make every step in this guide easy to put into practice. See today's price on Amazon.
Amazon Check Today's Price on Amazon →